BloodHound Setup
BloodHound is an Active Directory (AD) enumeration tool used by both attackers and defenders to map out relationships and permissions within an AD environment. It collects data (using tools like SharpHound) and visualizes it as a graph, revealing hidden attack paths, privilege escalations, and lateral movement opportunities such as finding which low-privilege user can eventually gain Domain Admin rights. It’s widely used in penetration testing and red teaming to understand AD weaknesses.
We will use BloodHound-Legacy for this tutorial.
Download Neo4j
First, download Neo4j in Kali Linux
1
sudo apt install neo4j
Next, start neo4j
1
sudo neo4j start
First, we need to setup neo4j for first time installation, the username and password are neo4j:neo4j
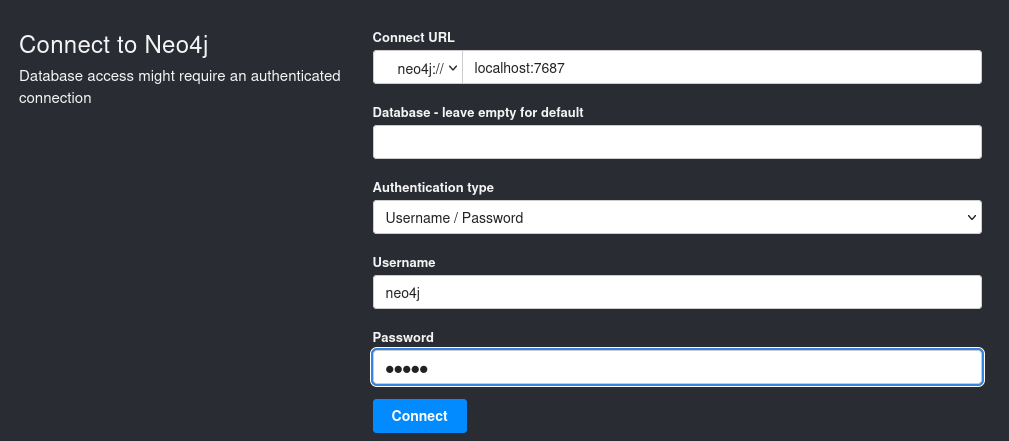
Next, we need to change our password, I just use easy one.

Now, our Neo4j is ready. We can continue with BloodHound installation.
Install BloodHound
Download BloodHound from github.
1
wget https://github.com/SpecterOps/BloodHound-Legacy/releases/download/v4.3.1/BloodHound-linux-x64.zip
Unzip the BloodHound-linux-x64.zip
1
unzip BloodHound-linux-x64.zip
Change to the BloodHound directory
1
cd BloodHound-linux-x64
Now, we can run BloodHound
1
./BloodHound --no-sandbox
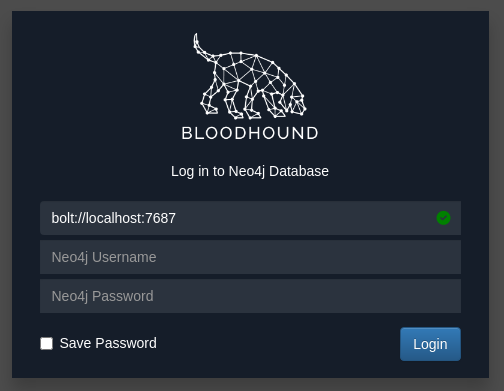
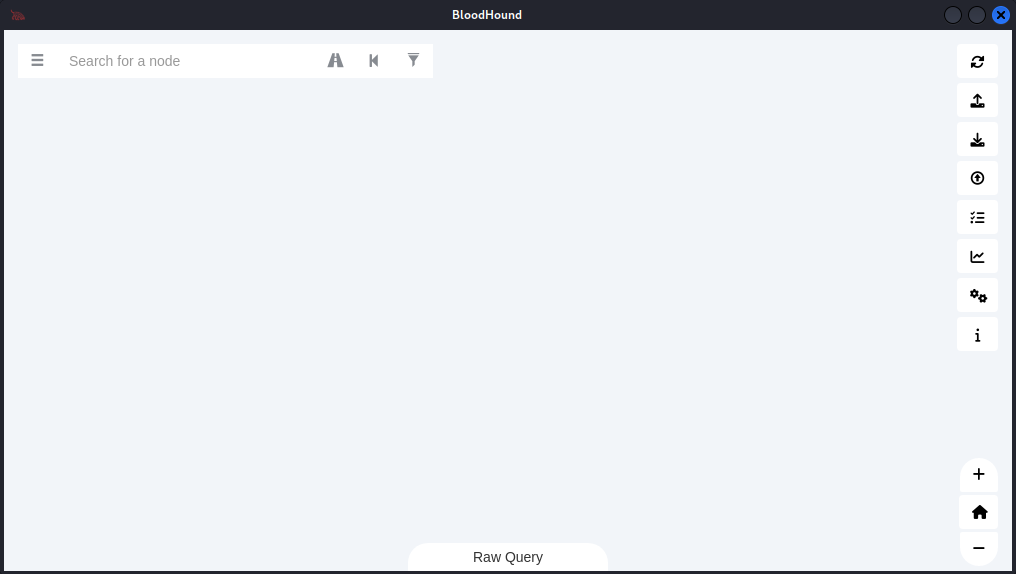
Login with the credentials that we setup with Neo4j and now you in the BloodHound.
Collecting Data Using SharpHound
SharpHound is the data collection tool used by BloodHound to enumerate and map out relationships within an Active Directory (AD) environment.
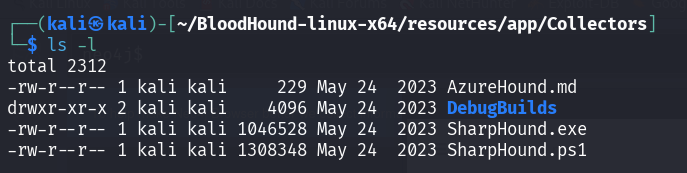
We can find SharpHound in the same package with BloodHound. ~/BloodHound-linux-x64/resources/app/Collectors
Let’s try collect the data from owned AD using SharpHound. Let’s say we has establish shell connection to the Windows, now we need to upload SharpHound.exe into the windows. There are two easy way to upload the collector:
- Using python http and just curl on victim machine
- Using upload function in evil-winrm

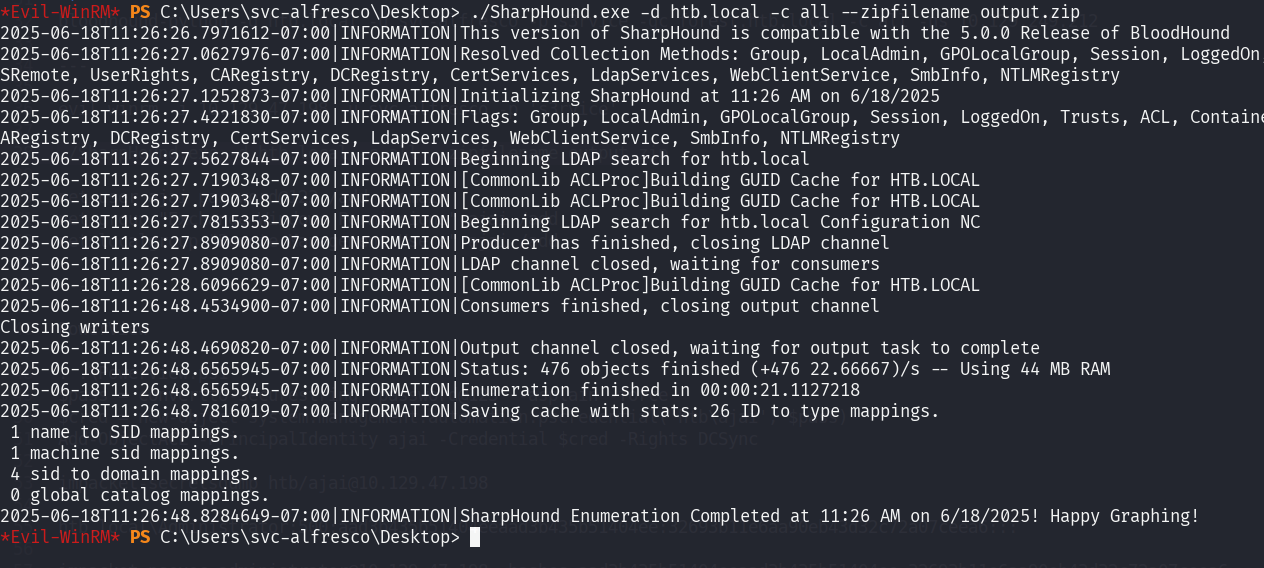
After uploading SharpHound.exe, we can run the collector.
1
./SharpHound.exe -d domain.name -c all --zipfilename output.zip
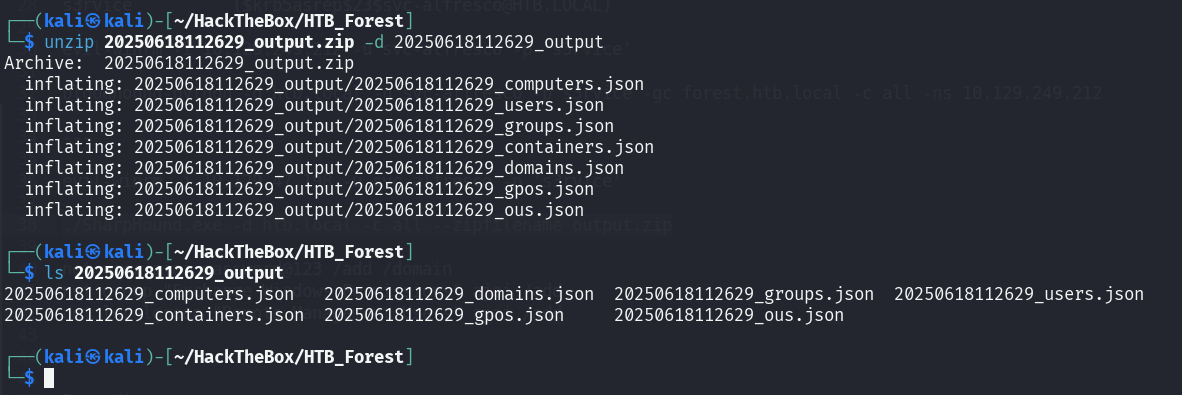
Now, we need to download the output.zip file to our attacker machine. We can use download function in evil-winrm.

Now extract the output.zip file. Inside the file, there are information of the Active Directory in JSON format.
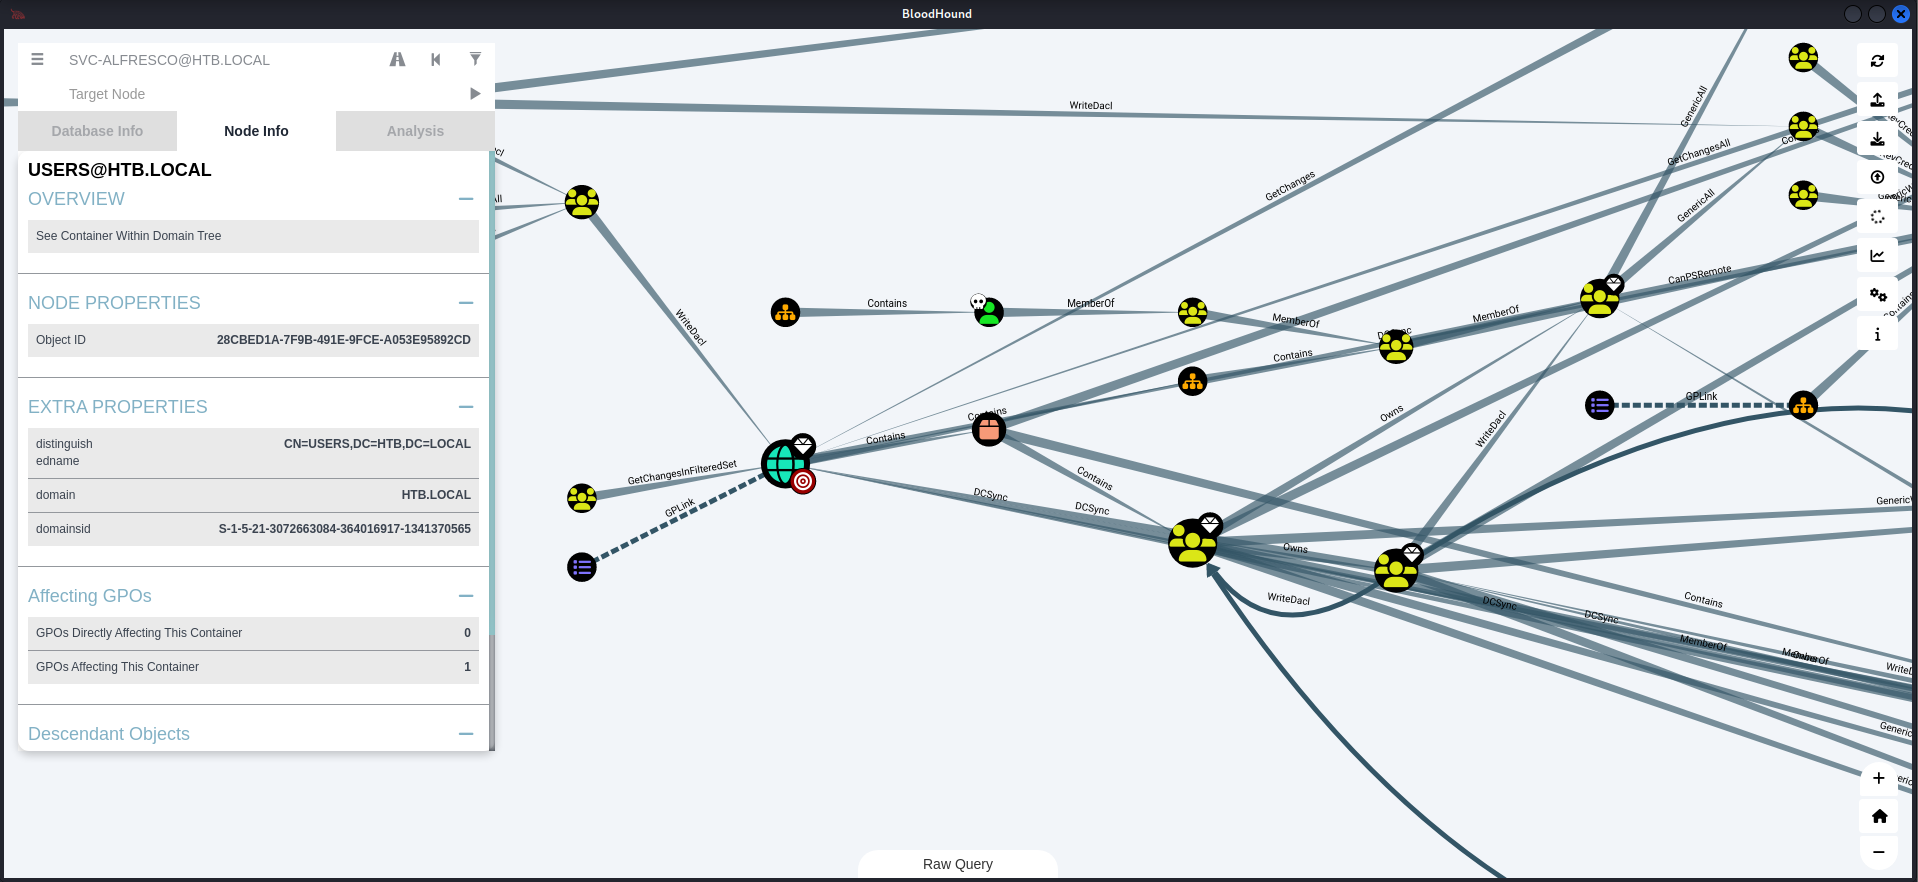
Analyzing Using BloodHound
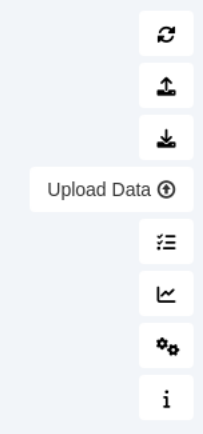
Now open BloodHound, in the right panel, click upload data and choose all the JSON file to be upload into the BloodHound.
Wait until upload process success
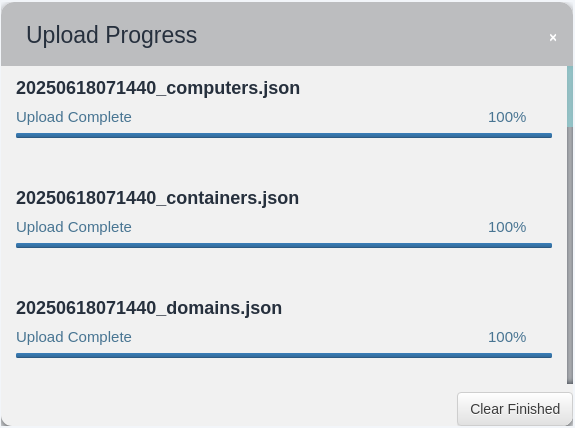
If your upload progress is stuck at 0%, you may use the SharpHound that incompatible with BloodHound version. To be safe, use SharpHound that always come with the same package of the BloodHound.
After you success uploading the JSON file, you may start your analysis of the active directory. Yeah, I will not cover it here. XD
Clear Neo4j Data for New Upload
After finish analyzing the Active Directory, you can delete the data in neo4j, so that if you need to use the BloodHound for other domain, it will only have that domain and easier for you to navigate.
The database usually stored at
/etc/neo4j/data/databases/neo4j/etc/neo4j/data/transactions/neo4j
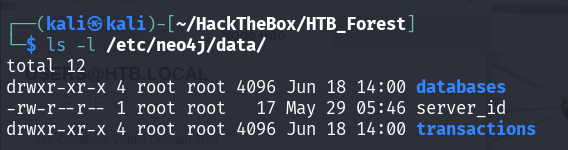
So, delete both of the directory
1
2
sudo rm -rf /etc/neo4j/data/databases/neo4j
sudo rm -rf /etc/neo4j/data/transactions/neo4j
Yeay, you successfully setup BloodHound.