Active Directory - Configure Login Banner
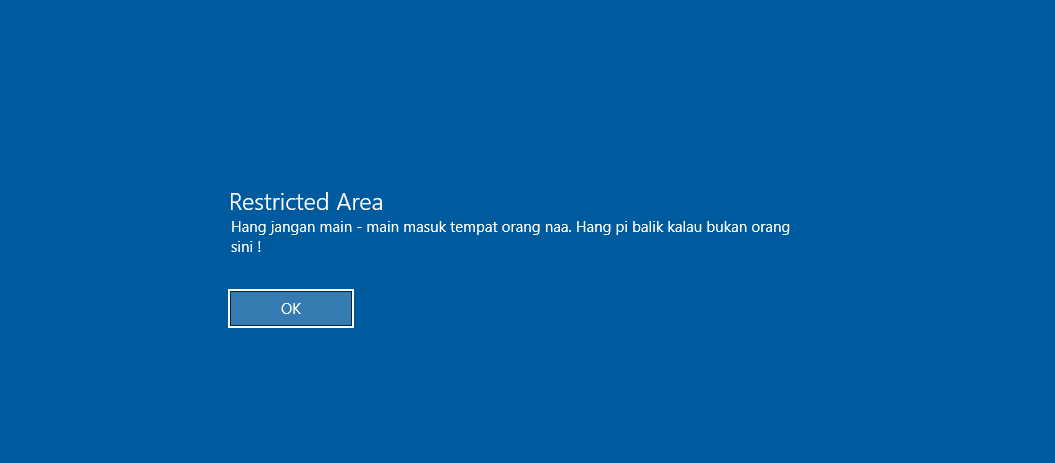
Woah stop there, you cannot enter restricted area as you like. That’s what you want to tell a person who try to login into your domain right? Less talking, let’s configure this.
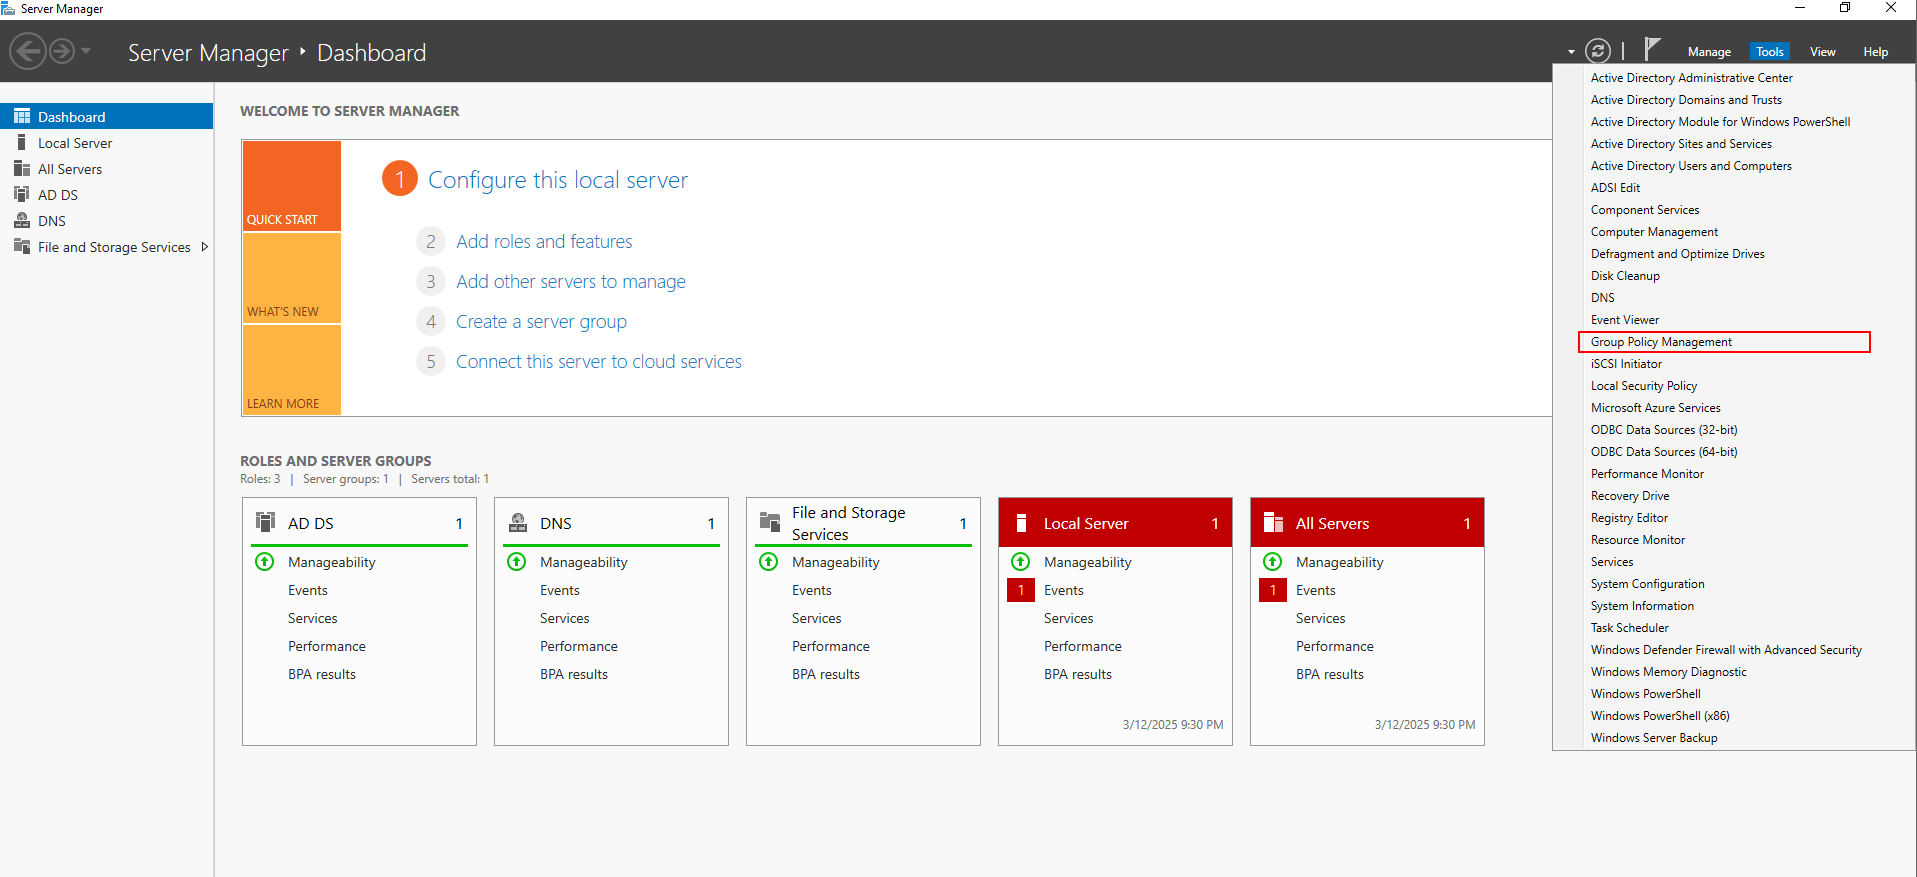
First, let’s open GPO management.
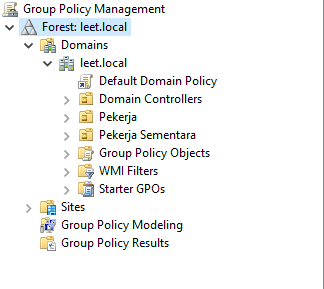
In GPO management, select our Domain Forest » Select our Domain, you may choose if you GPO want to be configure to entire objects in your domain or just Organizational Units (OU). For this time, I configure for domain leet.local.
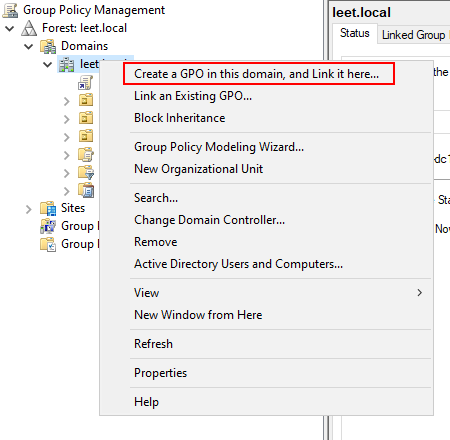
Right click on the domain and choose “Create a GPO in this domain, and Link it here…”, this will create new GPO that will link to our domain.
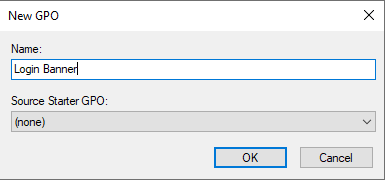
Rename your GPO with proper name. Then click OK
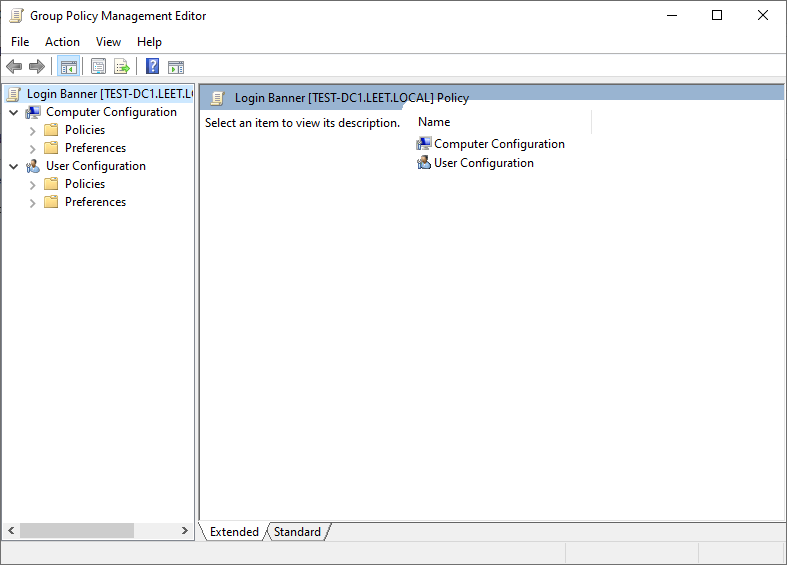
You will see new GPO created under your domain. Right click the GPO and choose “Edit”. It will show Group Policy Management Editor.
Now for the tricky part. To navigate to the banner options, in your GPO, select:
Computer Configuration » Policies » Windows Settings » Security Settings » Local Policies » Security Options
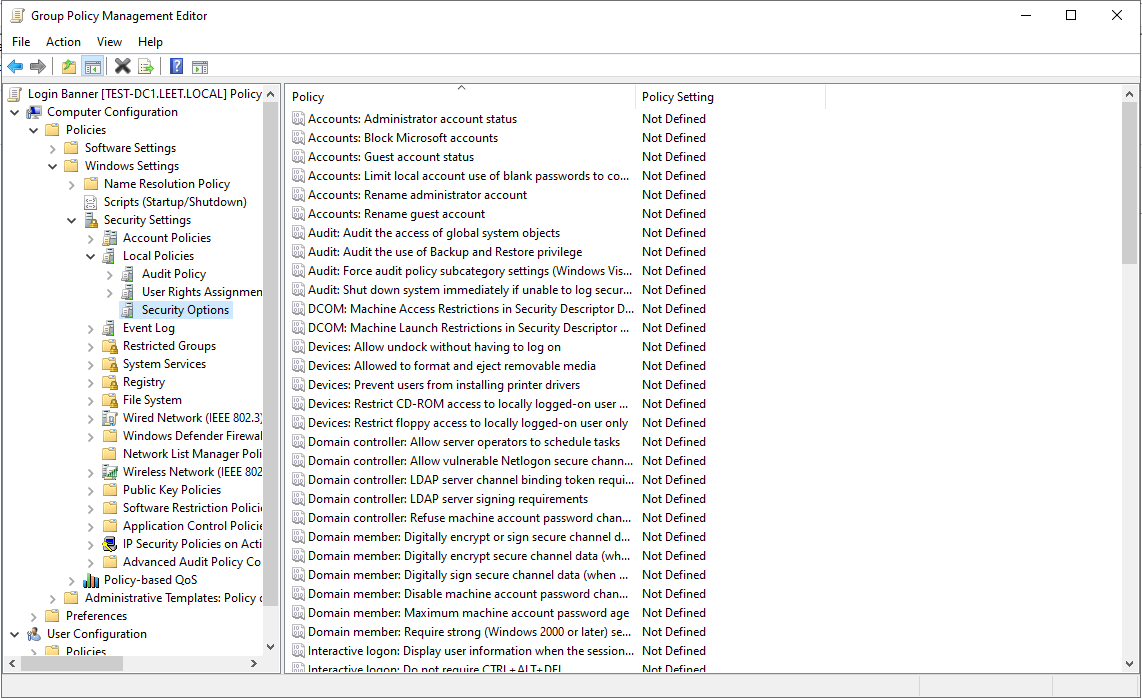
You will see many list of Not Defined policy. To configure Login Banner, you need to configure two of below policies:
- Interactive logon: Message text for users attempting to log on
- Interactive logon: Message title for users attempting to log on
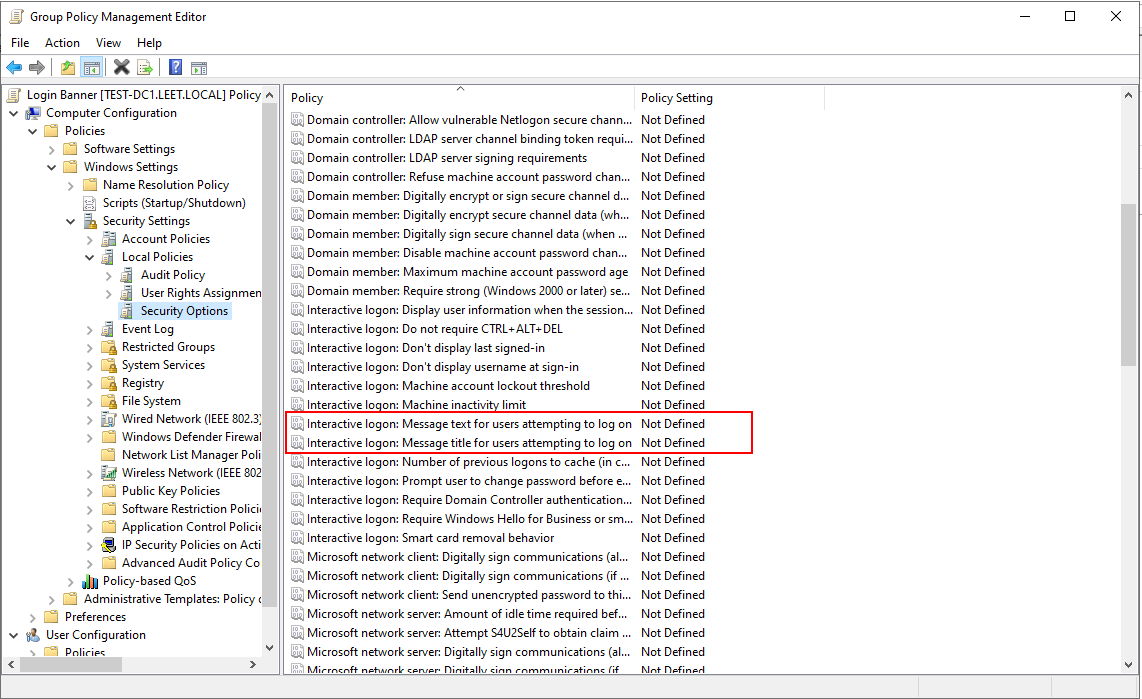
Right click the policy and choose “Properties”. Tick “Define this policy setting” and write your message and title for the banner.
Example Title: 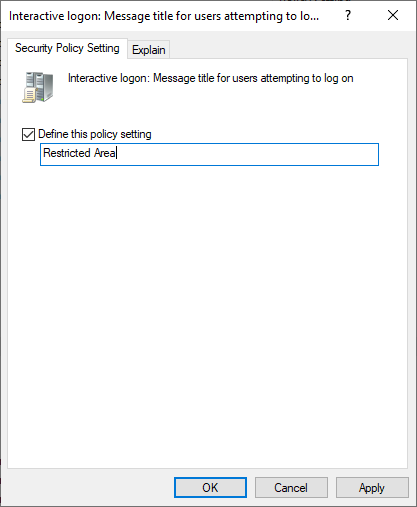
Example Text: 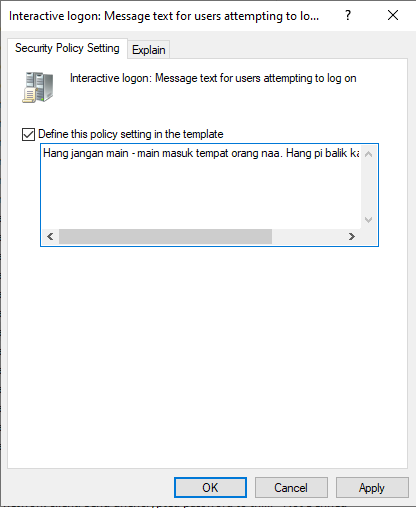
Save up the policy and walla.